Drawdio: Unterschied zwischen den Versionen
Zur Navigation springen
Zur Suche springen
Marvin (Diskussion | Beiträge) Keine Bearbeitungszusammenfassung |
Marvin (Diskussion | Beiträge) Keine Bearbeitungszusammenfassung |
||
| Zeile 14: | Zeile 14: | ||
==Building Tutorial== | ==Building Tutorial== | ||
===555 Timer=== | |||
We start with soldering the 555 Timer IC. For this, first think about how it has to be placed on the PCB. The area should be relatively easy to determine, you can do this either by the form of the pads where the legs will be soldered to or by the name: The place is marked "U1". | We start with soldering the 555 Timer IC. For this, first think about how it has to be placed on the PCB. The area should be relatively easy to determine, you can do this either by the form of the pads where the legs will be soldered to or by the name: The place is marked "U1". | ||
[[Category:Projekte]] | [[Category:Projekte]] | ||
[[Category:Bausaetze]] | [[Category:Bausaetze]] | ||
Version vom 12. Mai 2012, 19:17 Uhr
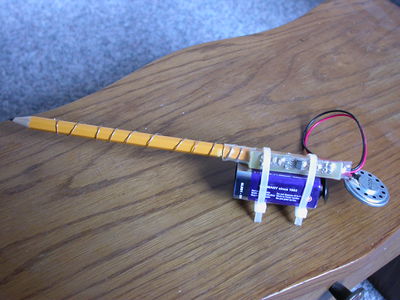
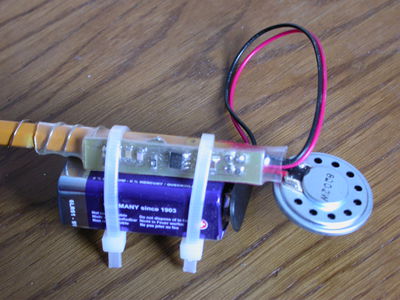
This Drawdio is a clone of the famous Drawdio by Jay Silver. This design is optimized to be cheap enough and have a component orientation that makes soldering quite easy, so you can train soldering SMT components for the first time. This the Drawdio accompanies our SMT soldering workshop.
Schematic


Getting the Design Data
You can checkout the git repository with the gschem schematics and geda pcb board file:
git clone http://www.0x53a.de/git/drawdio
Building Tutorial
555 Timer
We start with soldering the 555 Timer IC. For this, first think about how it has to be placed on the PCB. The area should be relatively easy to determine, you can do this either by the form of the pads where the legs will be soldered to or by the name: The place is marked "U1".